How to make Realistic Diorama Viking Village
Let's Build a Realistic Diorama Viking Village - Terrain Building - D&D Diorama - Resin Diorama - ジオラマ - レジンアート
I will try to share with you How to Making and Painting Lava Terrain for your Tabletop Games or Diorama project or later I will use it for my tabletop game, with a very low cost and the material that I use is easy for you to get.
I will explain step by step with photos, hopefully this can inspire you.
Materials:
- XPS Foam for Base and Rock Hills
- Stick ice cream for House Building and Bridge
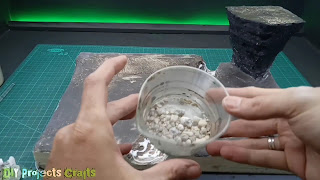
- Sand Beach for River Base
- Skewers for Tree Trunk
- Hemp Rope for Grass and Spruce leaves
- Wire for Tree Branch
- Resin for River
Stage 1 :
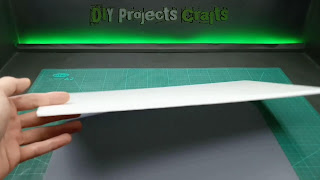
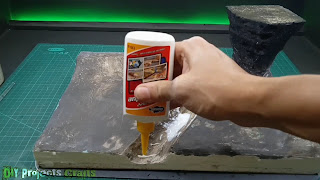
My first step will be to cut the polyfoam into several pieces, then I'll stick it using PVA glue.

Stage 2 :
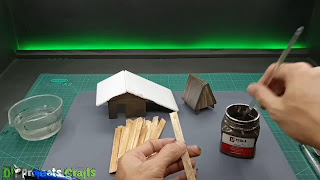
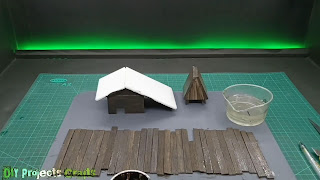
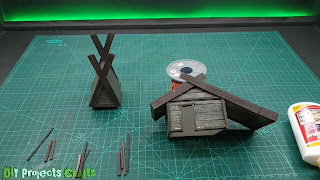
then I will prepare some ice cream sticks to make the walls, then I will scratch using a knife to carve them so that the wood texture can be seen.
Stage 3 :
Then I will give brown color for the base color and I will paste it right away.
Stage 4 :
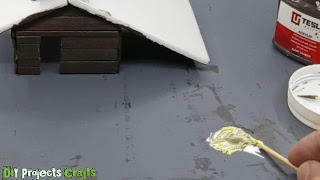
Then for the second layer I gave the color with a mixture of brown, white and yellow.

Stage 5 :
Then I gave a mixed color of yellow and green, for the moss texture


Stage 6 :
Then I will give the roof with static grass, first I will give it with PVA glue.


Stage 7 :
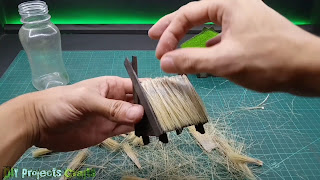
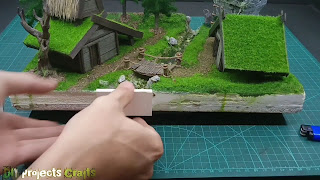
then on one of the roofs I gave a thatched roof, I made this thatched roof using an old brush

Stage 8 :
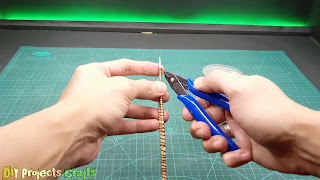
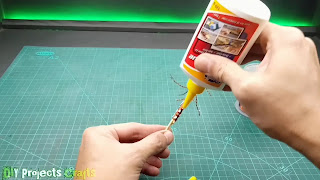
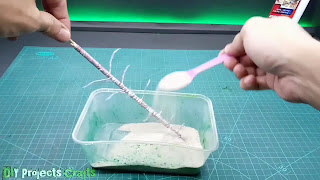
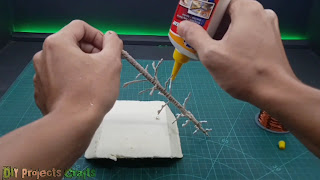
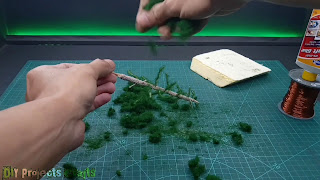
Then I will make a pine tree using a skewer for the trunk which I sprinkle with beach sand, then for the branches I use wire, for the leaves I use static grass. To sprinkle the leaves, I did it over and over, up to several times.


Stage 9 :
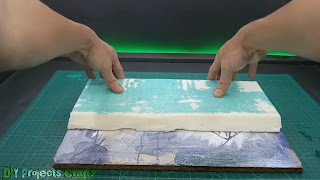
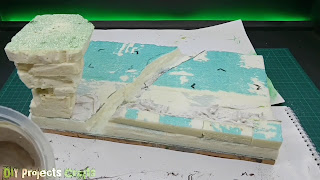
Then I will prepare for the base using XPS Foam.

Stage 10 :
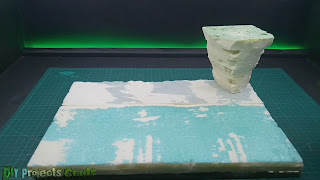
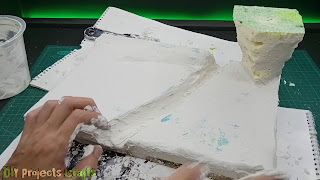
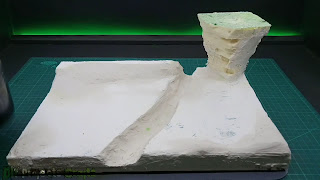
Then I covered the base with plaster.

Stage 11 :
Then I will give black color to the small hill and I will give brown color to the base.


Stage 12 :
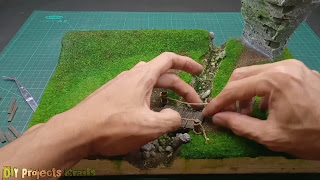
Then I will give a small rock on the flow of the river.
Please support me with your donation, this really helps me and really appreciate your giving.













Beautifull result, thanks for sharing
ReplyDeleteyour welcome and have fun
DeleteThis is awesome, brilian ideas
ReplyDeleteThank you buddy, have fun
DeleteLove this mate, thanks for help
ReplyDelete